Warning
You are currently viewing v2.17 of the documentation and it is not the latest. For the most recent documentation, kindly click here.
Deploying KEDA Click here for latest
KEDA offers multiple installation methods, each with unique benefits to suit various environments and needs. If you’re looking for flexibility and customization, deploying with Helm is ideal; it integrates well with environments that have established Helm workflows and allows easy configuration adjustments. For a straightforward setup, installing through Operator Hub provides a quick, one-click deployment with automatic updates, which is great for users seeking minimal customization.
Using YAML files offers the most control over your setup, making it perfect for environments requiring strict configurations or where Helm and Operator Hub are not options. Finally, deploying KEDA on MicroK8s is excellent for local or development testing, providing a lightweight Kubernetes environment that’s fast to set up without the commitment of a full cluster.
Each method balances convenience, control, and compatibility differently: Helm is best for extensive customization, Operator Hub for simplicity, YAML files for precise configuration, and MicroK8s for local experimentation. Select the option that aligns with your deployment requirements and environment.
💡 NOTE: KEDA requires Kubernetes cluster version 1.29 and higher
Don’t see what you need? Feel free to create an issue on our GitHub repo.
To deploy KEDA using Helm, make sure Helm is installed and configured on your system. Helm is a package manager for Kubernetes that simplifies the deployment process by handling complex configurations and templating, which is particularly useful for managing multiple instances or custom settings. It’s recommended to use the latest version of Helm to ensure compatibility with KEDA and access to the newest features.
If you’re new to Helm, start by familiarizing yourself with basic Helm commands (helm install, helm upgrade, helm repo add). Ensure that you have permissions to install charts on your Kubernetes cluster, as some environments may restrict access. A properly configured Helm setup will allow you to deploy KEDA quickly and make adjustments to configurations with ease.
To deploy KEDA using Helm, first add the official KEDA Helm repository:
helm repo add kedacore https://kedacore.github.io/charts
helm repo update
Install keda by running:
Helm 3
helm install keda kedacore/keda --namespace keda --create-namespace
This command installs KEDA in a dedicated namespace (keda). You can customize the installation by passing additional configuration values with --set, allowing you to adjust parameters like replica counts, scaling metrics, or logging levels. Once installed, verify the deployment by checking the KEDA namespace for running pods:
kubectl get pods -n keda
To deploy KEDA’s Custom Resource Definitions (CRDs) separately from the Helm chart, follow these steps:
Download the CRD YAML File: Visit the KEDA GitHub releases page and locate the keda-2.xx.x-crds.yaml file corresponding to your desired version.
Apply the CRDs to Your Cluster: Use kubectl to apply the CRD definitions:
kubectl apply -f keda-2.xx.x-crds.yaml
Replace 2.xx.x with the specific version number you downloaded.
By deploying the CRDs separately, you can manage them independently of the Helm chart, providing flexibility in your deployment process.
💡 NOTE: When upgrading to KEDA version 2.2.1 or later, it’s important to address potential issues with CRDs. Starting with v2.2.1, KEDA’s Helm chart manages CRDs automatically, which can lead to upgrade failures if you previously installed KEDA using an earlier version. To prevent errors during the upgrade process, such as conflicts or failed deployments, consult KEDA’s troubleshooting guide for detailed instructions on resolving CRD-related issues.
Deploying KEDA with Helm is straightforward and allows easy updates and configuration adjustments, making it a flexible choice for most environments.
To uninstall KEDA, use the following Helm command:
helm uninstall keda –namespace keda
This command removes KEDA from your cluster while retaining your configuration files in case you need to reinstall later. If you also want to delete the keda namespace, run:
kubectl delete namespace keda
Uninstalling with Helm is efficient and keeps your cluster clean, especially if you’re testing configurations or upgrading to a new KEDA version.
You can remove finalizers with the following command:
kubectl patch scaledobject <resource-name> -p '{"metadata":{"finalizers":null}}' --type=merge
kubectl patch scaledjob <resource-name> -p '{"metadata":{"finalizers":null}}' --type=merge
Replace <resource-name> with the specific name of each resource. Removing finalizers ensures that these resources are fully removed, preventing any unintended orphaned resources in your cluster.
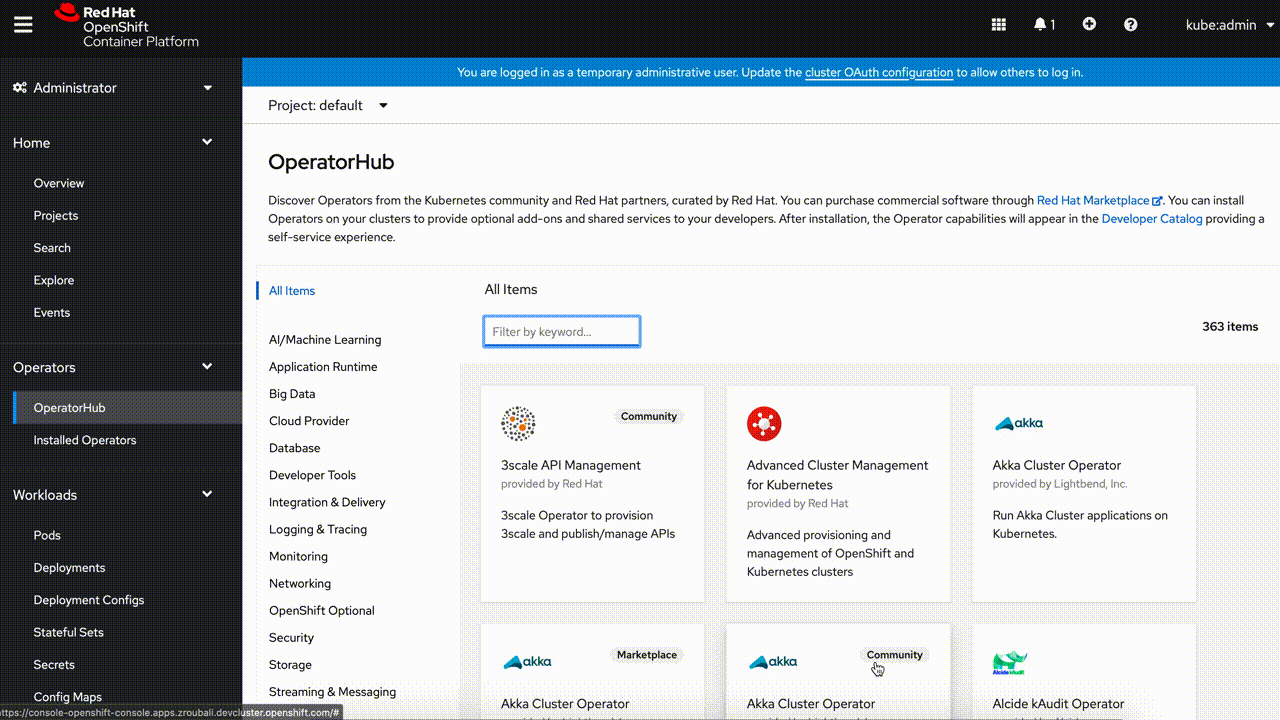
Before deploying KEDA through Operator Hub, ensure you have access to a Kubernetes marketplace that supports Operator Hub (for example, OpenShift or an Operator Lifecycle Manager (OLM)-enabled cluster). You’ll also need the appropriate permissions to install operators in your cluster, as some environments may restrict access.
If you’re using OpenShift, you can access Operator Hub directly through the OpenShift Console. For other Kubernetes distributions, verify that the OLM is installed, as it manages the installation and lifecycle of operators from Operator Hub. Ensuring these prerequisites are met will allow for a smooth installation of KEDA from Operator Hub.
To deploy KEDA through Operator Hub, start by navigating to your cluster’s Operator Hub interface. If you’re using OpenShift, access Operator Hub directly from the OpenShift Console. For other Kubernetes environments, ensure the Operator Lifecycle Manager (OLM) is installed.
Search for “KEDA” in Operator Hub, select the KEDA Operator, and click Install. Choose your preferred installation options, such as the target namespace, and confirm the installation. Once KEDA is installed, verify the deployment by checking that the KEDA Operator pod is running in the designated namespace.
kedaKedaController resource named keda in namespace keda
💡 NOTE: For more details on deploying KEDA with the Operator Hub installation method, refer to the official repository:
This repository provides additional guidance, configuration options, and troubleshooting tips for installing KEDA via Operator Hub in various Kubernetes environments.
For beginners exploring the
keda-olm-operator repository, the following files and directories are particularly helpful:-
README.md: This file provides an overview of the project, including installation instructions and usage examples. It’s a great starting point to understand the purpose and functionality of the operator.-
config/samples/: This directory contains sample YAML files that demonstrate how to configure KEDA resources. Reviewing these samples can help you learn how to define and apply custom resources in your Kubernetes cluster.-
Makefile: TheMakefileincludes commands for building and deploying the operator. Examining this file can give you insights into the development and deployment processes used in the project.
To uninstall KEDA, go to your cluster’s Operator Hub interface and locate the Installed Operators section. Find the KEDA Operator in the list, select it, and choose Uninstall. Confirm the uninstallation to remove the operator from your cluster.
If you deployed KEDA in a specific namespace, you may also want to delete that namespace to fully clean up any remaining resources. Uninstalling with Operator Hub keeps your cluster organized by removing all KEDA-related components with a few clicks.
Before deploying KEDA with YAML files, ensure you have kubectl installed and configured to interact with your Kubernetes cluster. You’ll also need the KEDA YAML manifests, which you can download from the KEDA GitHub releases page. This method provides full control over configuration and is ideal if you need a highly customized setup or don’t have access to Helm or Operator Hub. Make sure you have the appropriate permissions to apply these configurations in your cluster.
Once the KEDA YAML manifests are downloaded, apply the files to your cluster with the following command:
# Including admission webhooks
kubectl apply --server-side -f https://github.com/kedacore/keda/releases/download/v2.17.3/keda-2.17.3.yaml
# Without admission webhooks
kubectl apply --server-side -f https://github.com/kedacore/keda/releases/download/v2.17.3/keda-2.17.3-core.yaml
Alternatively you can download the file and deploy it from the local path:
# Including admission webhooks
kubectl apply --server-side -f keda-2.17.3.yaml
# Without admission webhooks
kubectl apply --server-side -f keda-2.17.3-core.yaml
The --server-side flag allows Kubernetes to manage complex resources, like CRDs and admission webhooks, directly on the server. This approach reduces conflicts and ensures configurations are efficiently merged. For more information, see this issue.
💡 NOTE: If you prefer working directly from the KEDA GitHub repository, you can find the necessary YAML files in the
/configdirectory. Cloning the repository allows you to manage and deploy KEDA configurations locally:git clone https://github.com/kedacore/keda && cd keda VERSION=2.17.3 make deployThis approach gives you full access to KEDA’s configuration files, allowing you to explore, modify, or tailor the YAML manifests before deploying. Using make deploy with the specified version will install KEDA directly from your local setup, offering flexibility for customization.
After applying the YAML, verify the deployment by checking the KEDA namespace:
kubectl get pods -n keda
Deploying KEDA this way provides control over configuration while leveraging server-side merging for smoother updates.
If you installed KEDA using the released YAML files, you can uninstall it by running the following commands:
# Including admission webhooks
kubectl delete -f https://github.com/kedacore/keda/releases/download/v2.17.3/keda-2.17.3.yaml
# Without admission webhooks
kubectl delete -f https://github.com/kedacore/keda/releases/download/v2.17.3/keda-2.17.3-core.yaml
If you downloaded the files locally, uninstall with:
# Including admission webhooks
kubectl delete -f keda-2.17.3.yaml
# Without admission webhooks
kubectl delete -f keda-2.17.3-core.yaml
For users who cloned the KEDA GitHub repository, navigate to the cloned directory and use:
VERSION=2.17.3 make undeploy
Before deploying KEDA on MicroK8s, ensure that you have MicroK8s installed and running on your local machine. MicroK8s is a lightweight Kubernetes distribution, ideal for testing and local development. You’ll need kubectl configured to interact with your MicroK8s cluster, which is typically included with MicroK8s but may require enabling (microk8s kubectl).
Additionally, confirm that your MicroK8s setup includes the Helm 3 and DNS add-ons:
To install KEDA on MicroK8s, start by enabling necessary add-ons and then deploy KEDA using the Helm 3 add-on.
Enable Helm and DNS Add-ons (if not already enabled):
microk8s enable dns helm3use
Add the KEDA Helm Repository:
microk8s helm3 repo add kedacore https://kedacore.github.io/charts

microk8s helm3 repo update
Install KEDA Using Helm.
Deploy KEDA into your MicroK8s cluster by running:
microk8s helm3 install keda kedacore/keda --namespace keda --create-namespace
Verify the Installation.
Check that KEDA is running by listing the pods in the keda namespace:
microk8s kubectl get pods -n keda
This approach allows you to quickly set up KEDA on MicroK8s, providing a streamlined environment for local testing and development.
To uninstall KEDA from your MicroK8s environment, disable the KEDA add-on:
microk8s disable keda
This command removes KEDA and its associated components from your cluster, ensuring a clean uninstallation. If you deployed KEDA using Helm, uninstall it with:
microk8s helm3 uninstall keda --namespace keda
After running these commands, KEDA will be fully removed from your MicroK8s setup.
To help you begin with KEDA, we’ll walk through a straightforward example that demonstrates its event-driven scaling capabilities. This “Hello KEDA” exercise will guide you through setting up a basic application that scales based on external events, providing a hands-on introduction to KEDA’s functionality.
Before starting, ensure you have the following:
We’ll deploy a simple application that responds to HTTP requests. For this example, we’ll use a basic Python HTTP server.
Create a Deployment Manifest: Save the following YAML as deployment.yaml:
apiVersion: apps/v1
kind: Deployment
metadata:
   name: http-app
spec:
   replicas: 1
   selector:
      matchLabels:
         app: http-app
   template:
      metadata:
         labels:
            app: http-app
      spec:
         containers:
         - name: http-app
           image: hashicorp/http-echo
           args:
              - "-text=Hello, KEDA!"
           ports:
              - containerPort: 5678
Apply the Deployment: Run the following command to create the deployment:
kubectl apply -f deployment.yaml
To access the application, we’ll create a Service.
Create a Service Manifest: Save the following YAML as service.yaml:
apiVersion: v1
kind: Service
metadata:
   name: http-app-service
spec:
   selector:
      app: http-app
   ports:
      - protocol: TCP
        port: 80
        targetPort: 5678
   type: LoadBalancer
Apply the Service: Run the following command to create the service:
kubectl apply -f service.yaml
Retrieve the External IP: After a few moments, retrieve the external IP address:
kubectl get service http-app-service
We’ll create a ScaledObject to enable KEDA to scale our deployment based on HTTP request rates.
Create a ScaledObject Manifest: Save the following YAML as scaledobject.yaml:
apiVersion: keda.sh/v1alpha1
kind: ScaledObject
metadata:
   name: http-app-scaledobject
spec:
   scaleTargetRef:
      name: http-app
   minReplicaCount: 1
   maxReplicaCount: 10
   triggers:
      - type: prometheus
        metadata:
           serverAddress: http://prometheus-server.default.svc.cluster.local:9090
           threshold: '5'
           query: sum(rate(http_requests_total[1m]))
💡 NOTE: This example assumes you have Prometheus installed in your cluster and scraping metrics from your application. Adjust the
serverAddressandqueryas needed.
Apply the ScaledObject: Run the following command to create the ScaledObject:
kubectl apply -f scaledobject.yaml
We’ll create a ScaledObject to enable KEDA to scale our deployment based on HTTP request rates.
To observe KEDA’s scaling in action:
Generate Load: Use a tool like curl or hey to send multiple requests to your application’s external IP:
hey -z 1m -c 10 http://<EXTERNAL-IP>
Replace <EXTERNAL-IP> with the external IP address obtained earlier.
Monitor Scaling: Run the following command to watch the scaling behavior:
kubectl get pods -w
You should see the number of pods increase as the load increases and decrease when the load subsides.
After completing the exercise, clean up the resources:
kubectl delete -f scaledobject.yaml
kubectl delete -f service.yaml
kubectl delete -f deployment.yaml
This example provides a hands-on introduction to KEDA’s event-driven scaling capabilities. By following these steps, you can see how KEDA integrates with Kubernetes to scale applications based on external events.